Explore NMHikingLocales, Activities, Features
Recent Posts
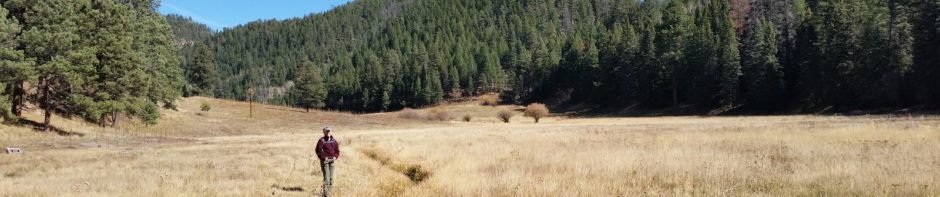
Participants
- Back To Top
Notes:
— For an inline photo, click on it to display a larger image. Then [back] on your browser to return to the page.
— Some links that are marked out, suggesting they are “dead links”, will work. They go to a site that the Broken Links Finder cannot access, but -you- can.Comments or Questions?
Updates
** Map of Locations ** has been updated to Mar 3, 2026!
**NEW** I am now adding a link to GAIA GPS for recent posts.To date: .
- Back To Top
Category Archives: Grants
Gooseberry Springs Trail #77 – 05/26/2023
We returned to Mount Taylor again this year. This Gooseberry Springs Trail presents a challenging hike with great views going up, coming down, and from the peak – together they make it one of our favorite hikes. We plan to … Continue reading
El Malpais-Narrows Rim Trail Hike – 04/14/2022
We’ve looked forward to hiking the Narrows Rim Trail a the Malpais for some time – and doing it this time of year (spring or fall)! The trail begins at the south end of the Rim in El Malpais National … Continue reading
Gooseberry Springs Trail Hike – 05/10/2021
Pat and I have hiked up Mount Taylor, last year and 2 years ago, and we were looking forward to doing it again. Jay and Nancy were intrigued and also wanted to ‘go the distance’. So we scheduled a 2-night … Continue reading
Armijo Canyon-Dittert Site Hike – 12/12/2020
This time of year, we avoid going north, into the Jemez, Sangre de Cristo, or other mountains – it is winter – cold, likely snowy, etc. Going west is better ‘tho it can be cold because places thereabouts are at … Continue reading
Gooseberry Springs Trail Hike – 06/10/2020
We returned to Mount Taylor where Pat & I made two hikes two years ago (a reconnoiter hike followed two weeks later by a hike to the summit). As then, we took our R-Pod camper for two nights giving us … Continue reading
El Malpais-Lava Tubes Trail Hike – 08/15/2019
With a grandson coming to visit, we thought we might explore the Lava Tubes in the El Malpais National Monument. To check it out in advance, we made it a day-trip. The Drive In First stop was the Visitors Center … Continue reading
El Malpais-Narrows Rim Hike – 03/26/2014
One of our early hikes, checking out trails around Grants, NM. This summary is posted from memory; it took place before I began this Hiking BLOG. This was such a nice hike with friend Vince. I think my memory will … Continue reading
El Malpais-Lava Falls Hike – 02/14/2014
Exploring the El Malpais National Monument, near Grants, a large area of volcanic rock with some interesting features, including tubes. Drive In From Albuquerque, head west on I-40 towards Grands, but turn south on NM 117. For some 28 miles … Continue reading
Cliff Ruins Expedition – 08/20/2018
Lanny and I had seen a video by Jeff Gilkey flying over Pueblo ruins atop a small mesa, specifically Mesa Pueblo. We located them using GoogleEarth, and headed that way. The Drive In As you can see from the red … Continue reading
Gooseberry Springs Trail Hike #2- 06/13/2018
Two weeks ago we hiked up the Gooseberry Springs Trail on Mount Taylor near Grants. That was such a great hike, we decided to return soon with the goal of going all the way to the top. So that we … Continue reading