Explore NMHikingLocales, Activities, Features
-
Recent Posts
Participants
- Back To Top
Notes:
— For an inline photo, click on it to display a larger image. Then [back] on your browser to return to the page.
— Some links that are marked out, suggesting they are “dead links”, will work. They go to a site that the Broken Links Finder cannot access, but -you- can.Comments or Questions?
Updates
** Map of Locations ** has been updated to Mar 3, 2026!
**NEW** I am now adding a link to GAIA GPS for recent posts.-
To date: .
- 0
- 547
- 16,290
- 121,582
- 49,010
- Back To Top
Category Archives: 2019
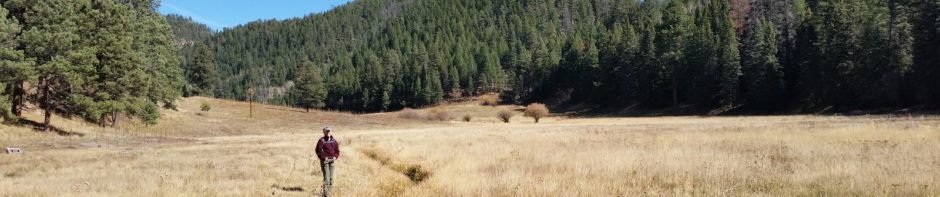
Upper Frijoles Canyon Overlook Trail Hike – 06/23/2019
This hike is the first during 4 days of camping at Jemez Falls Campground. Its about a 2.5 hour drive from Albuquerque, towing our R-Pod up US 550, then NM 4 past La Cueva to this very nice National Forest … Continue reading
Bear Wallow-Winsor-Borrega Trails Hike – 06/02/2019
Ok, so we’ve hiked this before. Not much has changed, except this time we went around the loop in the clockwise direction and we didn’t extend the hike as far up Tesuque Creek. The Hike Bear Wallow-Winsor-Borrega Hike.Jay.2019-06-02 Statistics … Continue reading
Cerro Grande Trail Hike – 05/29/2019
Our third day camping/hiking in the Jemez Mountains, in and around Valles Caldera. Having worn ourselves thin on the Alamo Spring hike the day before, we intended to limit hiking this day. So, to start the day we headed south … Continue reading
Alamo Spring Trail Hike – 05/28/2019
This was our 2nd day of 3 days camping and hiking around Valles Caldera in the Jemez Mountains. ‘Tho we would like to have headed deep into the Caldera, the washed out road just 5 miles in held us at … Continue reading
VC02 South Mountain Hike – 05/27/2019
This was our first hike during a 3 days visit to the Jemez Mountains, in the vicinity of the Valles Caldera National Preserve. We set up our R-Pod trailer/camper in the Jemez Falls Campground, a base camp from which to … Continue reading
Rio en Medio Trail Hike – 05/26/2019
Hiking again close to Santa Fe, this time driving around through Tesuque to En Medio and the Rio en Medio Trail #163. The Drive In As it was for our Little Tesuque Creek hike, the trailhead is near the end … Continue reading
Dale Ball Loop North Trail Hike – 05/23/2019
As part of a trip to Santa Fe, we sought out a medium length trail, chose this loop in the Dale Ball Trails system. The Drive In The trail begins in the Sierra del Norte Trailhead, the first one heading … Continue reading
The Volcanoes Trail Hike – 05/14/2019
Today we headed to the Volcanoes for a other “Urban” hike, places close to the city offering quite easy hiking conditions. From our upstairs window we look out at the Volcanoes each morning so they constantly beckon us. The Drive … Continue reading
Oak Flats-Ponderosa Trails Hike – 05/09/2019
‘Twas a chilly day with rain all around, but we wanted to get out for a hike. Chose the Ponderosa trail because it was easy (we’d hiked it back in 2016). Mother Nature had blessed the area with rain within … Continue reading
Hyde Park Full Circle Trail Hike – 05/05/2019
Near Santa Fe today, up Hyde Park Road into the foothills of the Sangre de Cristo Mountains, to a trail new to us – the Hyde Park Circle West and East trails. Another beautiful spring day in New Mexico – … Continue reading