Search Posts
Activities, Features, Locales
-
Recent Posts
Participants
Notes:
— For an inline photo, click on it to display a larger image. Then [back] on your browser to return to the page.
— Some links that are marked out, suggesting they are “dead links”, will work. They go to a site that the Broken Links Finder cannot access, but -you- can.Comments or Questions?
Updates
** Map of Locations ** has been updated to Mar 3, 2026!
**NEW** I am now adding a link to GAIA GPS for recent posts.-
To date: .
- 0
- 427
- 15,880
- 120,881
- 48,468
Tag Archives: Jay
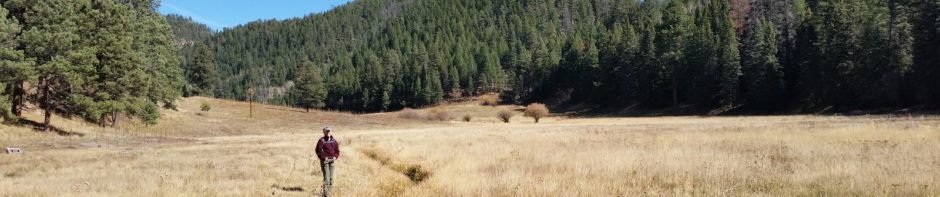
Red Lake Trail Hike – 07/11/2023
It has been -hot- in Albuquerque (and in Santa Fe). Even hotter than we anticipated when a few months ago we planned this camping and hiking trip to Cumbres Pass and the Trujillo Meadows campground (10,000 feet elevation and above). … Continue reading
Piedra Lisa Trail North – 05/21/2023
Another revisit to Placitas Trails with Jay, rekindling good memories – and enjoying the hikes. For our most recent hike, we intended to do Piedra Lisa but did NoName and Quartz Outcrop – this trip we made it to Piedra … Continue reading
NoName-Quartz Outcrop Trails Hike – 05/10/2023
Returning again to trails where Jay and I first hiked together. The Drive In Again, we met at the Strip Mine Trailhead located just off of NM 165, 0.8 miles east of the Placitas Cafe (also Blades’ Bistro). From there, … Continue reading
Strip Mine Trail Hike – 05/02/2023
I met Jay in our original hiking grounds – Placitas and the northern foothills to the Sandia Mountains. We revisited an old friend, the Strip Mine Trail, one of the very first hikes that we did together back in 2012, … Continue reading
Dale Ball Trail Hike – 04/23/2023
I joined Jay in Santa Fe for a quick day hike followed by a good beer at his place. The Drive In Drive up Hyde Park Road (NM 475) from Santa Fe to the Sierra del Norte Trailhead; there is … Continue reading
Dale Ball Trails – Dorothy Stewart Trail Extended – 11/16/2022
‘Tis great to go hiking with Jay again, this time on one of the Dale Ball Trails on the outskirts of Santa Fe – Dorothy Stewart Trail, with extension. The Drive In The trailhead is on Camino De Cruz Blanca … Continue reading
VC02-VC0201 Trails Hike – 05/24/2023
During a two-night camping trip in Jemez Falls Campground, Jay and I headed into Valles Caldera for a mid-distance hike. Pat and Nancy (with Bo) remained at the campground, “chilling out”. The Drive In From the Campground, head east on … Continue reading
Las Conchas Trail Hike – 08/23/2022
Camped for 3 nights at the Jemez Falls Campground with Jay, Nancy, and Bo. After setting up at the campsite, we took a walkabout down a trail from our campsite towards Jemez Falls. On the 2nd day with Pat and … Continue reading
Las Vacas Trail Hike – 08/03/2022
Our 2nd hike during a 3-day camping trip to San Pedro Parks, with Jay and Nancy and their new dog, Bo. ‘Tis a trail that we’ve hiked before, a very pleasant hike through open forest, past San Gregorio Reservoir and … Continue reading
Peñas Negras Trail Hike – 08/01/2022
Our first hike in the San Pedro Parks Wilderness Area during a 3-night camping trip. Upon arrival, we set up camp in the Rio de las Vacas campground then did the Rio de las Vacas Walkabout along the Rio near … Continue reading